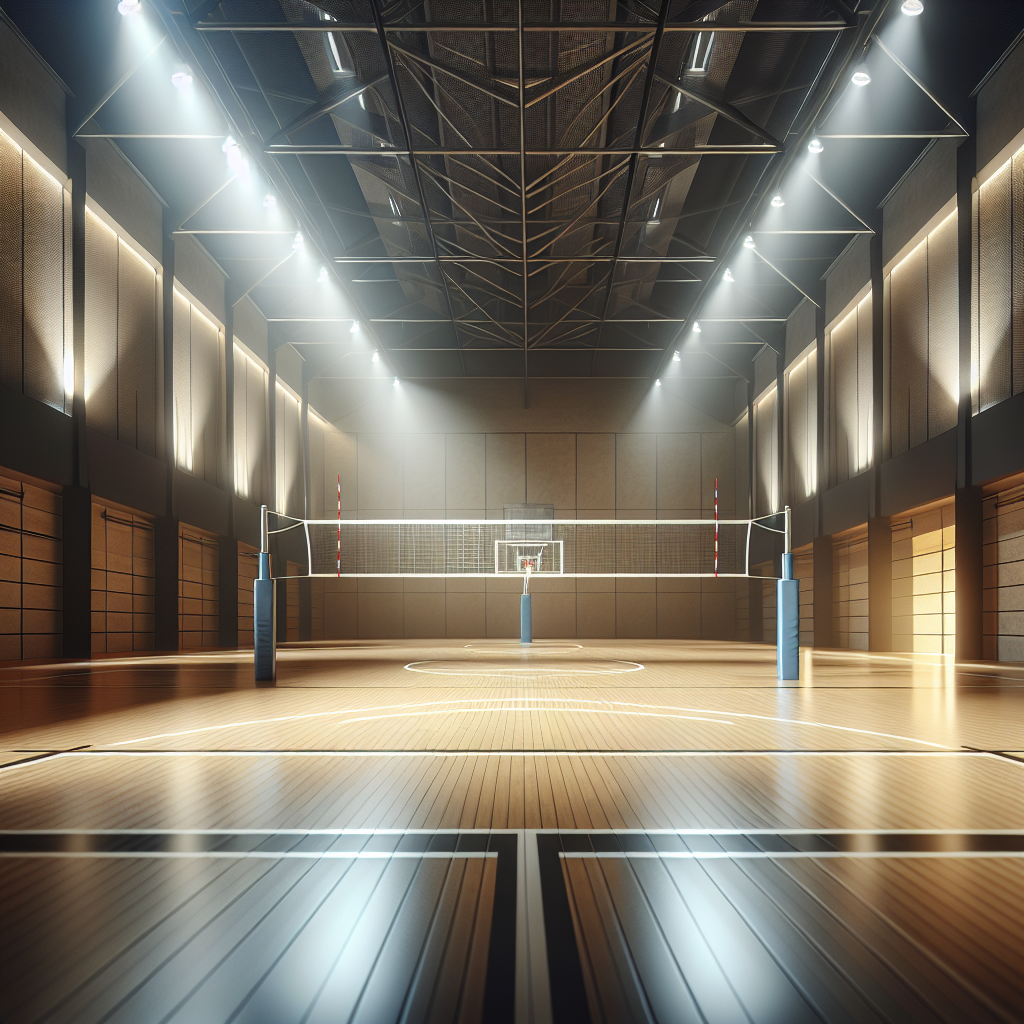
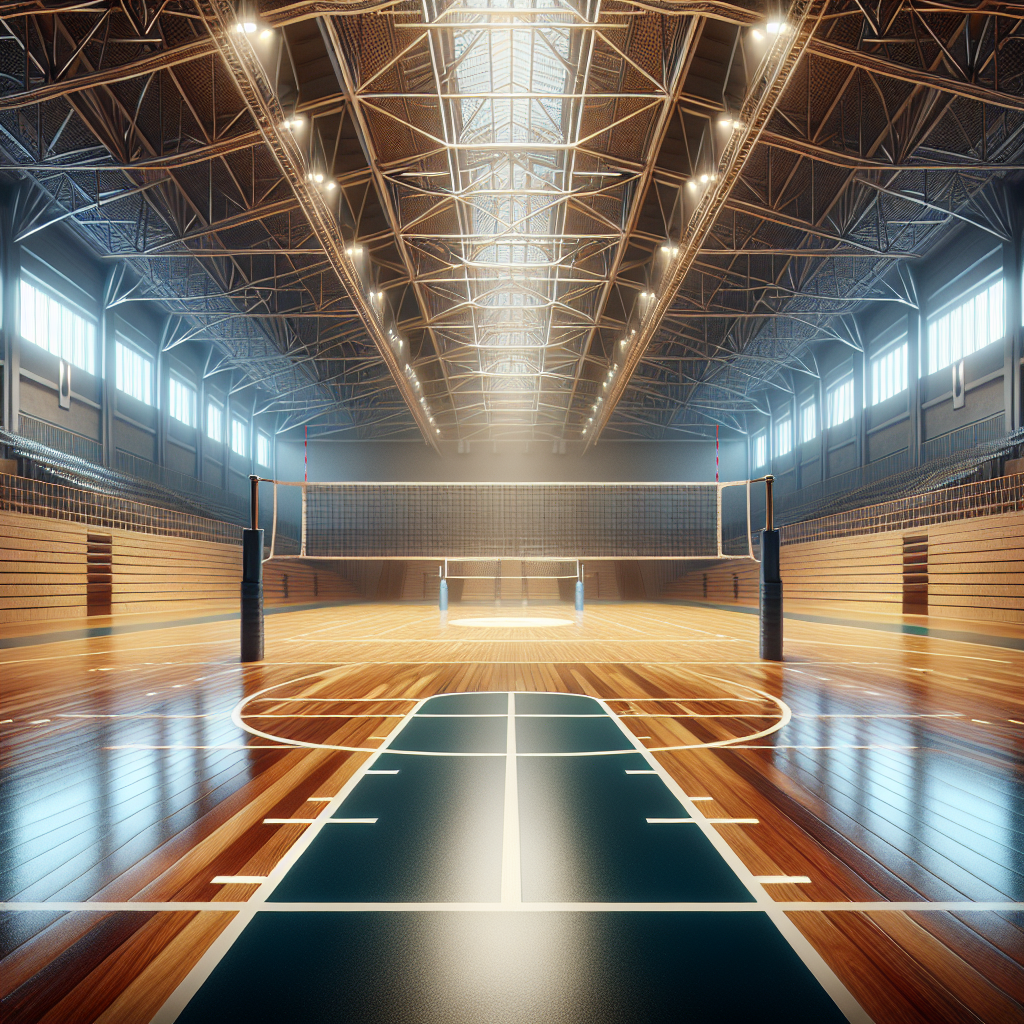
From lugging in the volleyball net to getting it up right, I have your complete guide on setting up a volleyball net in a gym! Trust me, it’s simpler than it seems. In this detailed tutorial, I’ll walk you through the basic steps and provide some handy tips to make the process smoother. So get ready to bring your A-game, because we’re not just making the net stand, we are setting the stage for an exciting game of volleyball.

Understanding the Basics
When it comes to setting up a volleyball net in a gym, understanding the basics is paramount to success. Laying a solid foundation for your game starts with knowing what you’re building in the first place.
Know the dimensions of a volleyball net
A volleyball net typically measures three feet high and thirty-two feet long. Corners and sides are usually marked with colored tapes to distinguish the boundaries. It has a white top made from canvas or vinyl, which acts as an indicator. Keep these measurements in mind as they will come in handy when setting up the net.
Research on the required space for setting up a volleyball net
While the dimensions of the net itself are essential, just as crucial is the space you’ll need to appropriately set up the net with enough room for a regulation game. Volleyball needs a fairly large amount of space – nine meters by eighteen meters is the official court size. This allows for ample room for players to move around and for the ball to be in play.
Gathering the Necessary Equipment
Now that you understand the basics, it’s time to gather all the necessary equipment.
Identify the right volleyball net for your gym
When choosing a volleyball net, consider your gym’s specific requirements. You might consider the frequency of use, the level of play (recreational, high school, college, etc.), and your budget. Some nets are designed for professional use, while others are more suitable for casual games among friends.
Find sturdy poles for support
The poles for your volleyball net need to be hefty and robust; they will be supporting the net’s tension and the wear and tear of gameplay. The poles should generally be made of a material like steel or aluminum, two sturdy yet lightweight materials. This will ensure easy installation and mobility.
Get reliable fastening materials
After you’ve settled on your poles, it’s time to consider how to secure them. Depending on the type of poles you chose, you might need concrete to create a lasting base, or stakes and guidelines for temporary set up. Always opt for reliable fastening materials; bearing the weight of the net requires strength and durability.
Have a measuring tape ready
It may seem like a small item, but don’t overlook the importance of a good old-fashioned measuring tape. You’ll be using it to measure everything from the height of your net and the distance between your poles to the boundaries of your court.
Finding the Right Spot in Your Gym
With the basics nailed and necessary equipment gathered, we can now turn our attention to finding the right spot in your gym to set up your volleyball net.
Measure the available space in your gym
First things first, take stock of the total space available in your gym. Use the dimensions you researched earlier to determine if you have enough room for a court. Also, factor in some extra space outside the boundaries to give players space to maneuver.
Consider the convenience of the location
When choosing the right spot, consider the convenience factor. Is it easily accessible? Is there enough room for spectators if needed? Will setting up a net here disrupt other activities in the gym? Answering these questions will help you find the most functional spot.
Check for obstructions around your desired spot
Check the intended area for obstructions. Things like pillars, gym equipment, or low ceilings can potentially cause accidents or obstruction during a game. The area where the volleyball net will be set up should be clear of any hazards.
Marking Out the Court
Defining your court is another integral step in setting up a volleyball net in a gym.
Decide on the orientation of the court
When deciding on the orientation of your court, consider factors like the layout of your gym and the direction of natural light if you have windows. This will help ensure that sunlight does not interfere with a player’s vision during a game.
Mark the boundaries of the court
Boundary lines are integral to the game. On a hard surface like a gym floor, you can use tape to mark out the boundaries. The court is typically eighteen meters long and nine meters wide, divided into two by the net.
Define the centerline and attack lines
Just as crucial as boundary lines are the centerline and attack lines, which are marked on each side of the court. The centerline divides the court into two equal halves, while the attack line is three meters from the net.

Setting Up the Volleyball Poles
Now we can get into the actual physical setup of your volleyball court, starting with the poles.
Dig holes or attach bases for the poles
Depending on the permanent or temporary nature of your court, you’ll either need to dig holes or attach bases to your floor for the poles. If you’re using a temporary setup, after finding the appropriate spots, secure the floor plates or bases for the poles.
Ensure the poles are securely placed and sturdy
After you’ve decided on your method, install your poles, ensuring they’re sturdy and level. Use a level to confirm that they’re straight and adjust as necessary.
Verify equal distance from the centerline to both poles
The final step for the poles is confirming that they’re each the same distance from the center of the court, ensuring an even net and a fair game. This is typically six meters from the centerline on both sides in an official game.
Attaching the Volleyball Net
Once the poles are secured, it’s time to hang the net.
Secure the net on the poles using hooks or ties
Depending on your particular net, use the materials provided or procure your hooks or ties to secure the net to the poles. Attach the ends of the net to the top of the poles first, then adjust the sides and bottom.
Ensure a balanced tension on the net
As you’re attaching your net, ensure the tension is balanced so the net is level across the court. Balanced tension allows for a smooth play and helps prevent the net from sagging or coming loose.

Adjusting the Net Height
After the net is hung, it’s time to ensure it’s the right height.
Understand the official height regulations for men, women, and co-ed games
The official net heights vary depending on who’s playing. Men’s games typically require a height of 2.43 meters, women’s games are slightly lower at 2.24 meters, and co-ed games are usually set at the men’s height.
Use the measuring tape to confirm net height
Once the net is up, use that handy measuring tape to ensure the net, at the center, is the correct height.
Make necessary adjustments
If the net measures too high or too low, adjust the tension and re-tie as necessary until you reach the desired height.
Checking for Safety
After all the heavy lifting in getting the net and court set up is complete, take a few moments for safety measures.
Ensure all equipment is securely installed
From the net to the poles and fastening materials, re-check everything to ensure all is securely installed and sturdy. The last thing you want is for any equipment to come loose during a game.
Check for possible hazards around the court
Take a critical look around the court to ensure there are no additional obstacles or hazards that could cause injuries to players like unruly cords, gym equipment, or slippery spots on the floor.
Have emergency medical kit ready
While nobody likes to think about injuries happening, it’s always better to be prepared. Making sure there’s a medical kit close at hand is a sensible precaution to have in place.

Setting Up Serving and Attack Lines
You might assume the work is done, but don’t forget about the serving and attack lines.
Understand the rules regarding serve and attack lines
Part of understanding the basics is familiarizing yourself with the rules surrounding these lines. The server must serve from behind the end line until after contact and players can’t cross the attack line when completing an attack from the backrow.
Mark the serving area outside the boundary lines
Aside from the main court, use tape to mark a serving area outside the boundary lines. This will let players know where they should stand when serving the ball.
Determine the attack line 3 meters from the net
Last but not least, set an attack line three meters from the net on each side of the court. This line indicates where back-row players can legally attack the ball and remain in play.
Final Remarks and Maintenance
Finally, setting up a volleyball net in a gym is not a one-time job. Regular inspection and maintenance are crucial.
Inspect the volleyball net setup regularly for any loosening
Do regular checks of the volleyball net and the equipment to ensure everything stays in tact, particularly if your gym is busy or the net gets heavy usage. Keep an eye out for any fraying or loosing in the net, ensure the poles remain firm and the fastening materials stay secure.
Maintain the cleanliness and safety of the court
Part of maintaining your volleyball net setup includes keeping the court clean. This includes ensuring the floor’s cleanliness, properly storing any unused tools or equipment, and keeping the court free of moisture to prevent slipping accidents.
Store the net properly after use if needed
If your volleyball net will not be a permanent fixture in your gym, ensure you store it well to ensure it lasts for many games to come. Most nets come with storage bags designed to keep the net safe from mildew, tearing, and other potential damages when it’s not in use.
There you have it, my friends—to set up a comprehensive volleyball court is no small task, but it’s not beyond reach either. With basic knowledge, necessary equipment, diligence, and a heart for the game, you are but a few steps away from having your volleyball court set up in your gym. Happy playing!


